Replace iPhone 16 pro max screen: Get a step-by-step guide
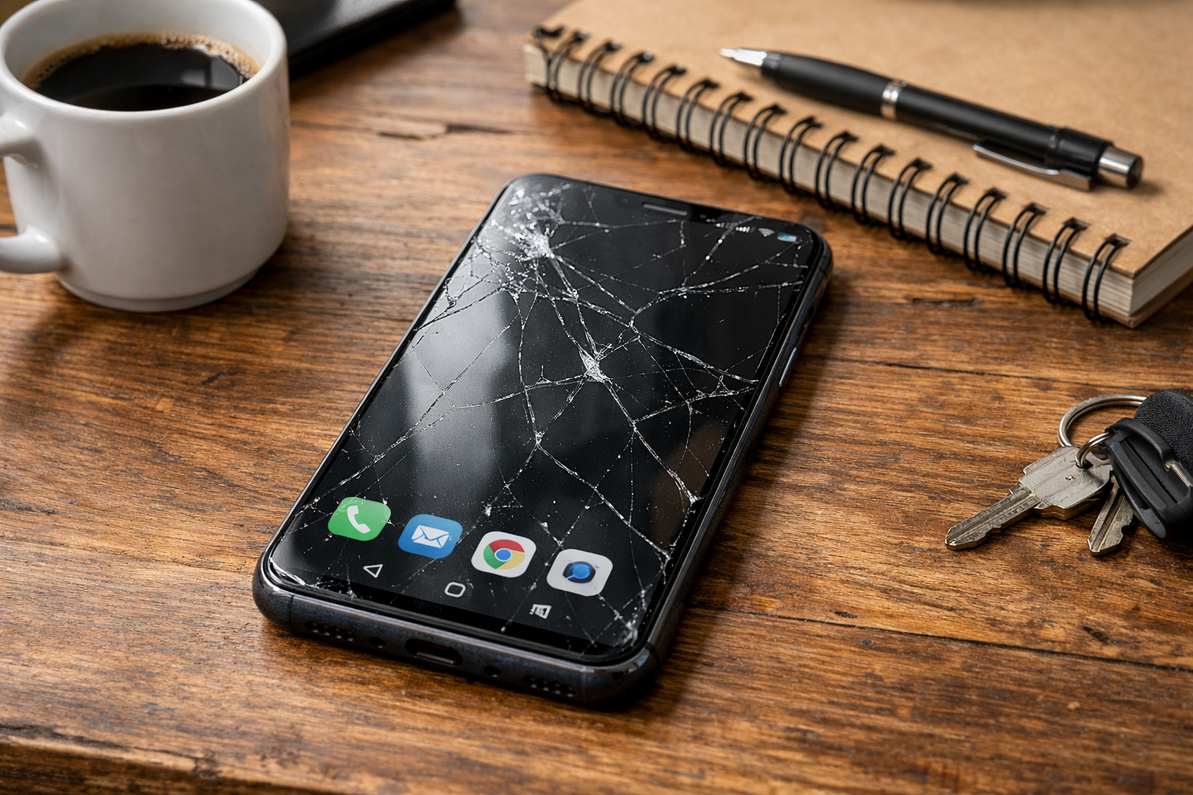
A cracked iPhone 16 Pro Max screen can be frustrating, but with the right tools and patience, you can replace it yourself. Whether it’s a shattered display or an unresponsive touch, this DIY guide will walk you through the screen replacement process, saving you time and money.
1. Back up your data: Before you start, ensure to back up your iPhone to the Cloud or a computer, as replacing the screen might lead to data loss if something goes wrong.
2. Power Off your iPhone: To ensure safety during the repair, remember to simultaneously press and hold the side button and one volume button, then slide to power off. This will help prevent any potential short circuits.
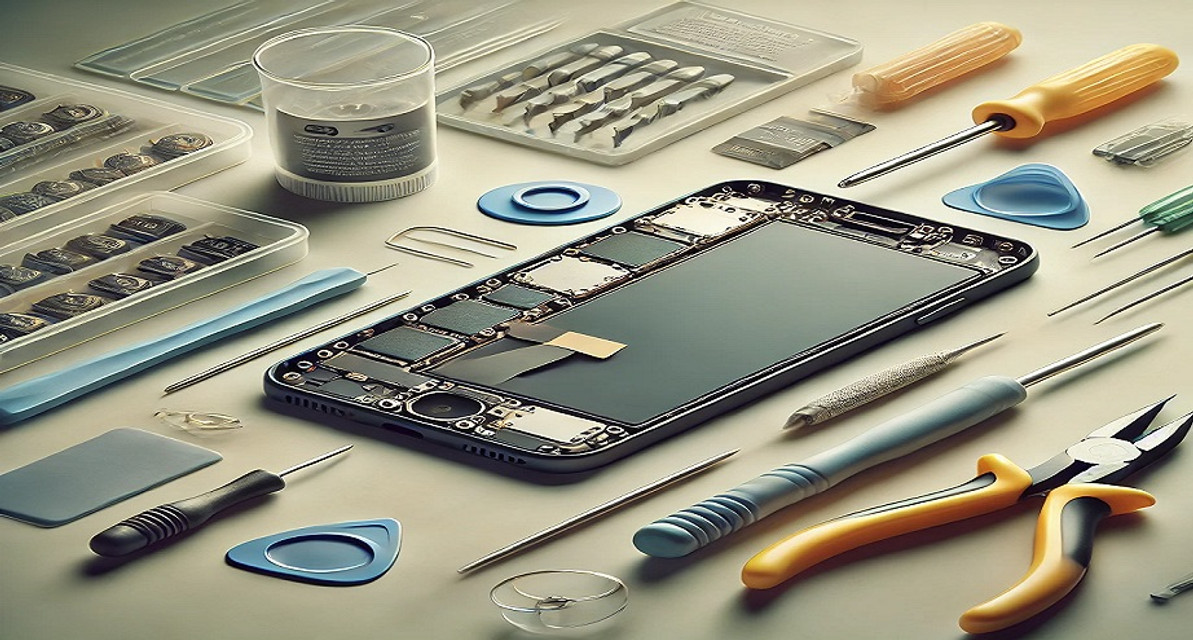
3. Remove the Bottom Screws: Use the screwdriver to remove the two screws on either side of the charging port. Set them aside in a safe place.
4. Use the suction cup: Place the suction cup tool near the bottom of the screen and gently pull it upward to create a small gap. Insert the plastic pry into the gap and slowly work around the edges to release the clips and adhesive.
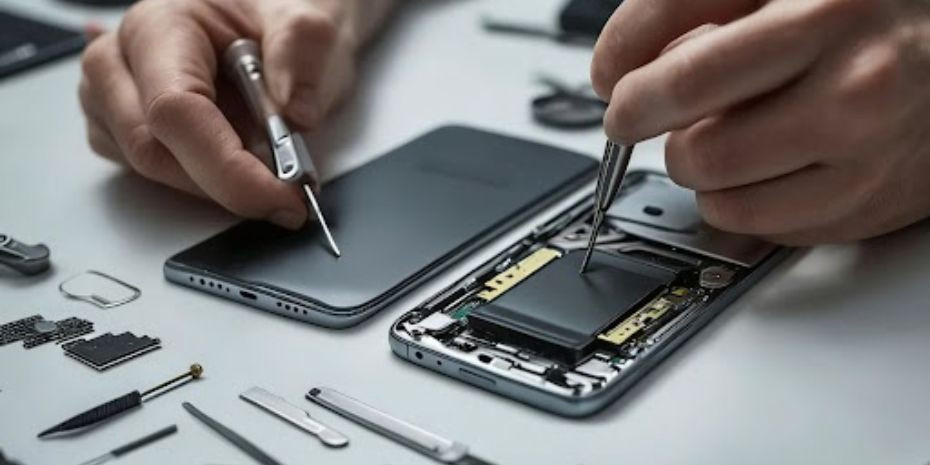
5. Disconnect the Battery: Once the screen is loosened, carefully lift it from the bottom. Use the Phillips screwdriver to remove the bracket covering the battery connector. Disconnect the battery to avoid accidental electrical issues.
6. Disconnect the Display Cable: Three cables connect the display to the logic board:
- OLED display connector
- Touch digitizer cable
- The front camera and Face ID sensor cable.
7. Install the new screw:
- Connect the new screen’s cables to the logic board.
- Make sure all connections are firm to avoid issues with touch sensitivity or display quality.
- Reconnect the battery.
8. Test the new screw: Before sealing the device, power on the iPhone to ensure the display works properly. Test touch functionality, Face ID, and brightness adjustment.
9. Reassemble the iPhone:
- If everything works, place the metal brackets back over the connectors and secure them with screws.
- Apply new adhesive strips to reseal the screen for water resistance.
- Press the display down firmly along the edges.
10. Secure the Bottom Screws: Use the screwdriver to reinstall the two screws on either side of the charging port.
11. Final Test and Clean-Up: Turn on your iPhone 16 Pro Max one more time to confirm everything is working smoothly. Clean the screen with a microfiber cloth to remove fingerprints.
Tips for a Successful Repair:
- Handle with care: Be gentle when disconnecting cables to avoid damage.
- Organize screws: Keep track of all screws and their positions, as different sizes are used throughout.
- Use quality parts: Choose a high-quality replacement screen for better performance.
- Avoid Face ID issues: If you damage the Face ID components during the repair, it may become permanently disabled.
Conclusion:
Replacing the iPhone 16 Pro Max screen at home can seem intimidating, but following these steps carefully can restore your phone’s functionality. However, if you are unsure or uncomfortable with the process, it’s best to seek help from a professional repair shop like Westcoast Repairs, where experts can handle the job efficiently.
Recent Posts
-
How Long Can a Phone Last With a Cracked Screen?
When your phone cracks for the first time, the first thing you probably do is hope it didn’t break t …30th Jan 2026 -
How Much Will It Cost to Fix a Samsung Phone?
You drop your Samsung phone, and that awful cracking sound makes your heart skip a beat. Or maybe yo …31st Dec 2025 -
After-Market or Original Mobile Parts: Which One Is Good for Your Phone?
When your phone breaks, the stress hits quickly. A cracked screen, a dying battery, or a faulty char …31st Dec 2025


