Replace your iPhone 6s screen: Get a step-by-step guide
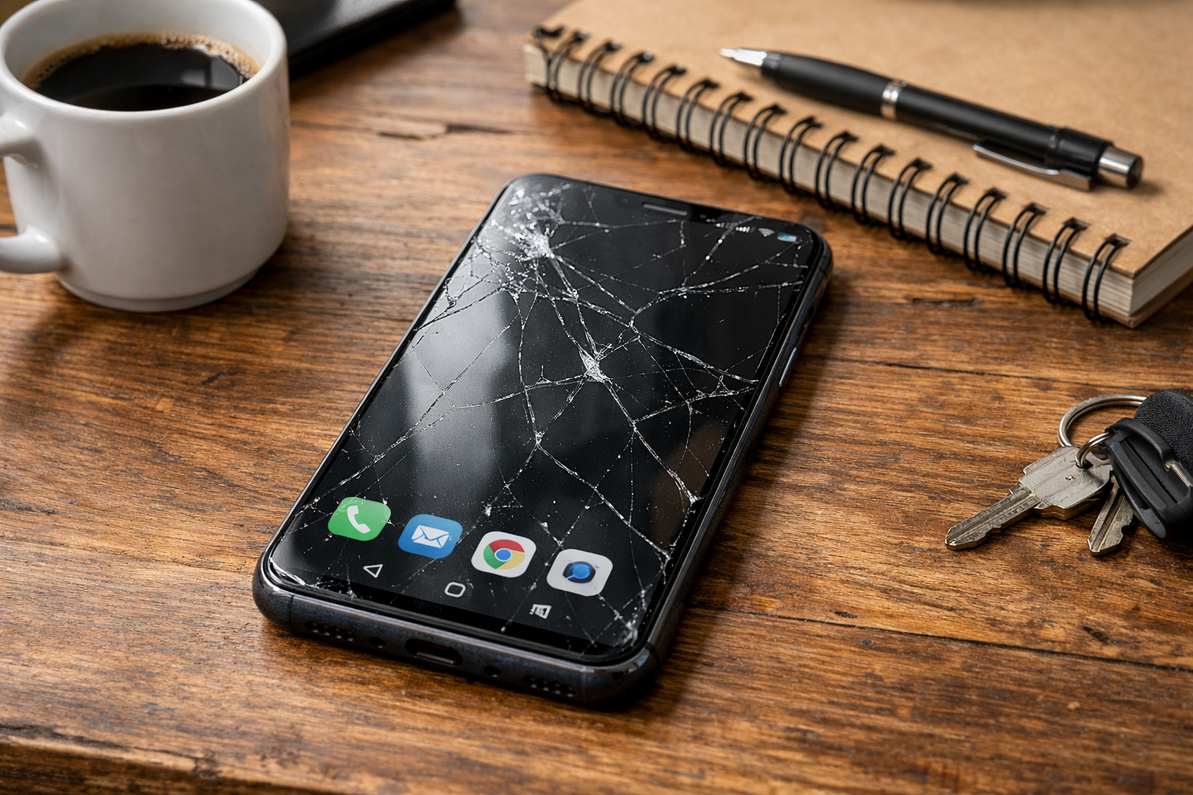
If the screen of your iPhone 6s is damaged, you don't need to worry. You can replace the screen yourself with the right tools and a bit of patience, taking a proactive approach. This step-by-step guide will help you in the process, saving you time and money.
1. Power Off the iPhone: Before you start, turn off your iPhone to avoid any damage during disassembly.
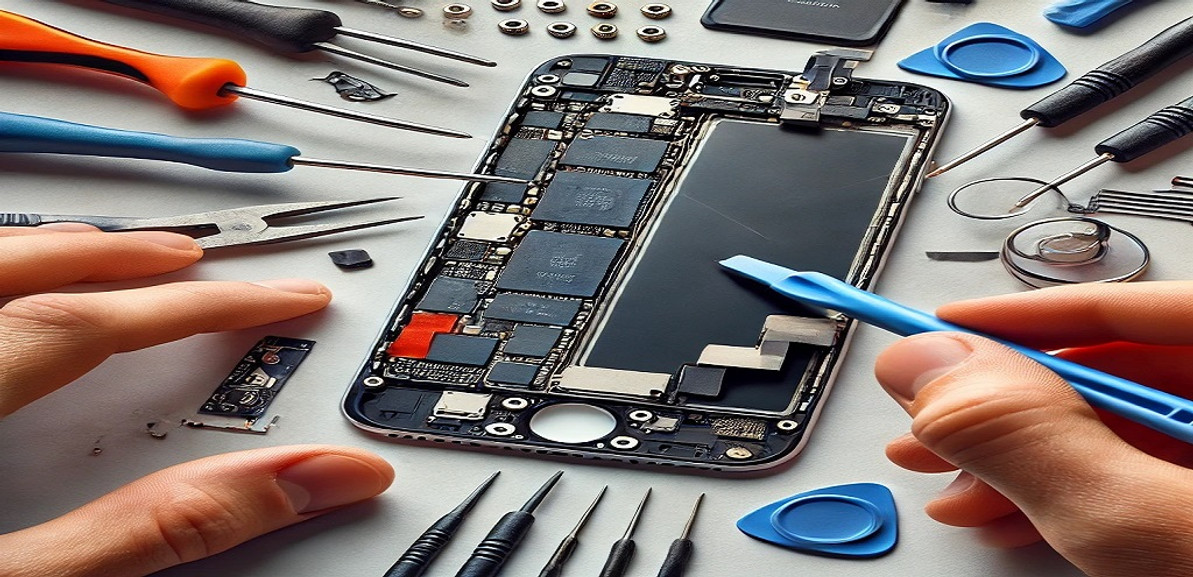
2. Remove the Bottom Screws: Using the screwdriver, remove the two screws located next to the lightning port at the bottom of your iPhone 6s.
3. Separate the Display from the Phone:
- "Position the suction cup slightly above the home button.
- Carefully lift the suction cup to create a small gap between the display and the frame.
- Use a plastic opening tool to gently pry around the edges and loosen the adhesive that holds the display in place. Take your time to prevent damage to any internal components.
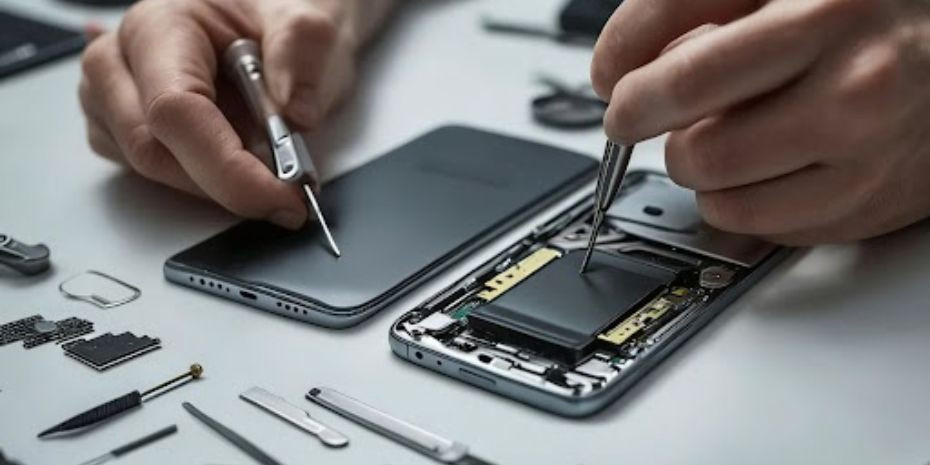
4. Disconnect the Battery: After lifting the display slightly, you'll find connectors underneath. Use a Phillips screwdriver to remove the screws holding the metal shield covering the battery and display connectors. Carefully use a plastic tool to disconnect the battery connector to prevent accidental short circuits.
5. Disconnect the Display Assembly: To detach the screen assembly from the phone, start by disconnecting the following cables:
- Display cable
- Digitizer cable
- Front camera and proximity sensor cable
6. Transfer Key Components to New Screen: If your replacement screen doesn’t come with parts like the home button, earpiece speaker, or front camera, you’ll need to transfer them from the old screen:
- Unscrew the home button and remove it gently.
- Similarly, remove the earpiece speaker and front camera assembly.
7. Attach the New Screen Assembly:
- Connect the new screen’s cables to their respective connectors on the motherboard.
- Reattach the metal shield over the connectors using the Phillips screwdriver.
8. Reconnect the Battery: Carefully reconnect the battery cable to ensure your phone powers on properly.
9. Seal the Phone and Test it:
- Gently place the new screen onto the phone’s body.
- Secure it by reinstalling the two bottom screws near the lightning port.
- Power on the phone to ensure the display works correctly, the touch functionality is responsive, and the home button is operational.
10. Add Adhesive Strip: To preserve the phone's water resistance, it's important to use adhesive strips to carefully reseal the phone before closing it.
Conclusion:
Thinking about replacing the screen on your iPhone 6s may seem difficult, but by following these steps carefully, you can do it successfully. If you're looking to save money and enjoy the satisfaction of fixing your phone yourself, consider DIY repairs. If you come across any issues or feel uneasy during the process, it's important to seek professional assistance. If you're in Darwin, Perth, or Sydney, you can visit Westcoast Repairs at Casuarina Square for professional iPhone repairs at competitive prices.
Recent Posts
-
How Long Can a Phone Last With a Cracked Screen?
When your phone cracks for the first time, the first thing you probably do is hope it didn’t break t …30th Jan 2026 -
How Much Will It Cost to Fix a Samsung Phone?
You drop your Samsung phone, and that awful cracking sound makes your heart skip a beat. Or maybe yo …31st Dec 2025 -
After-Market or Original Mobile Parts: Which One Is Good for Your Phone?
When your phone breaks, the stress hits quickly. A cracked screen, a dying battery, or a faulty char …31st Dec 2025


